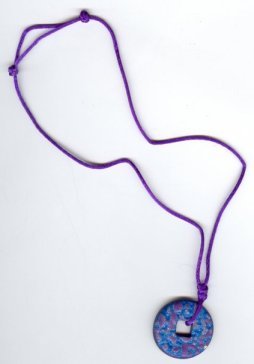
Button Knots for Adjustable Length Necklace
Use this knot to create an adjustable length necklace, as shown below. A button knot is tied at each end of the cord, around the other cord, and the knots may slide in either direction to change the length of the nexklace.
 |
|
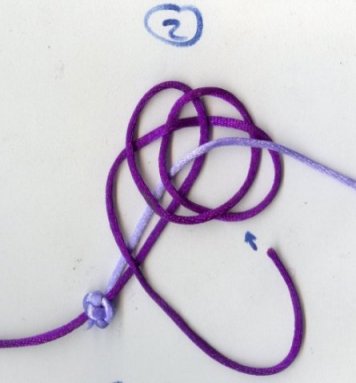 |
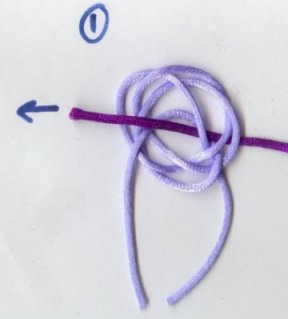
2. Tighten the knot. Pull enough of the other end through to create another knot with the other cord. This second knot has to be tied around the first cord, and has to end up with the first cord coming through the center area. As you create each loop, the part of the loop that goes up must go behind the other cord and the part that goes down must go in front of the other cord. |
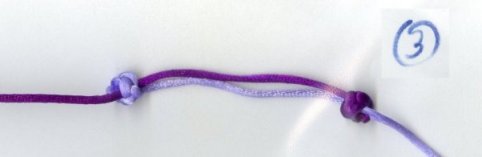 |
3. Tighten the second knot. Clip the ends of both knots and glue or singe. |