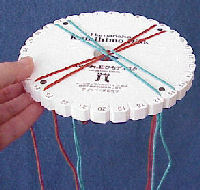
Instructions for basic round spiral braid.
Your mantra: "Left up, right down, turn"
If you can remember this chant, you have it made!
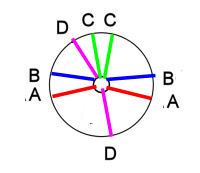
Start with 8 strands of cord, each a few inches longer than twice the length that you want the finished braid to be. You can use any number of colors, but the spiral pattern is the most obvious with 2 colors. The braid also looks nice with 3 or 4 colors.
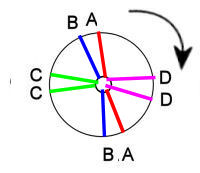
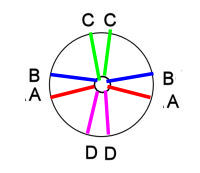
Tie the cords in a knot and place the knot in the hole in the middle of the disk. Place the cords in the configuration shown here. For a 2-color braid, place one color at positions A and B and the other color at C and D. For 3 or 4 colors, you will get different patterns depending on where you place the colors to begin with.
Click here for information on finishing braid ends.

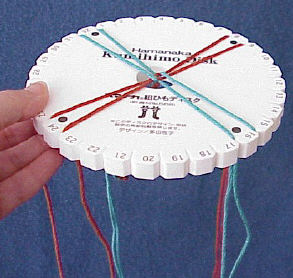
This spiral braid was created with 4 colors.
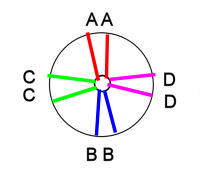
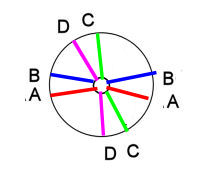
Start with 8 strands of cord, placed in the positions shown.
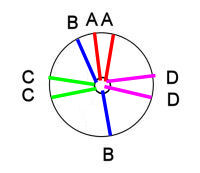
Take the top cord on the right and move it down to the right of the remaining cord on the bottom ("rignt down")
This shows the disk after it has been rotated a quarter turn clockwise.
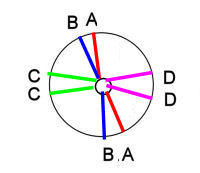
Start again with the first step - take the bottom cord on the left and move it up to the left of the top cords.
Move the top cord on the right to down to the right of the remaining bottom cord.